Home / Media and Real Time / Browser Video Editor
Browser Video Editor in JavaScript, Free with Live Demo
Free browser video editor in plain JavaScript. Trim a clip, add a filter and a title, and export a real MP4 with the WebCodecs VideoEncoder. No upload.
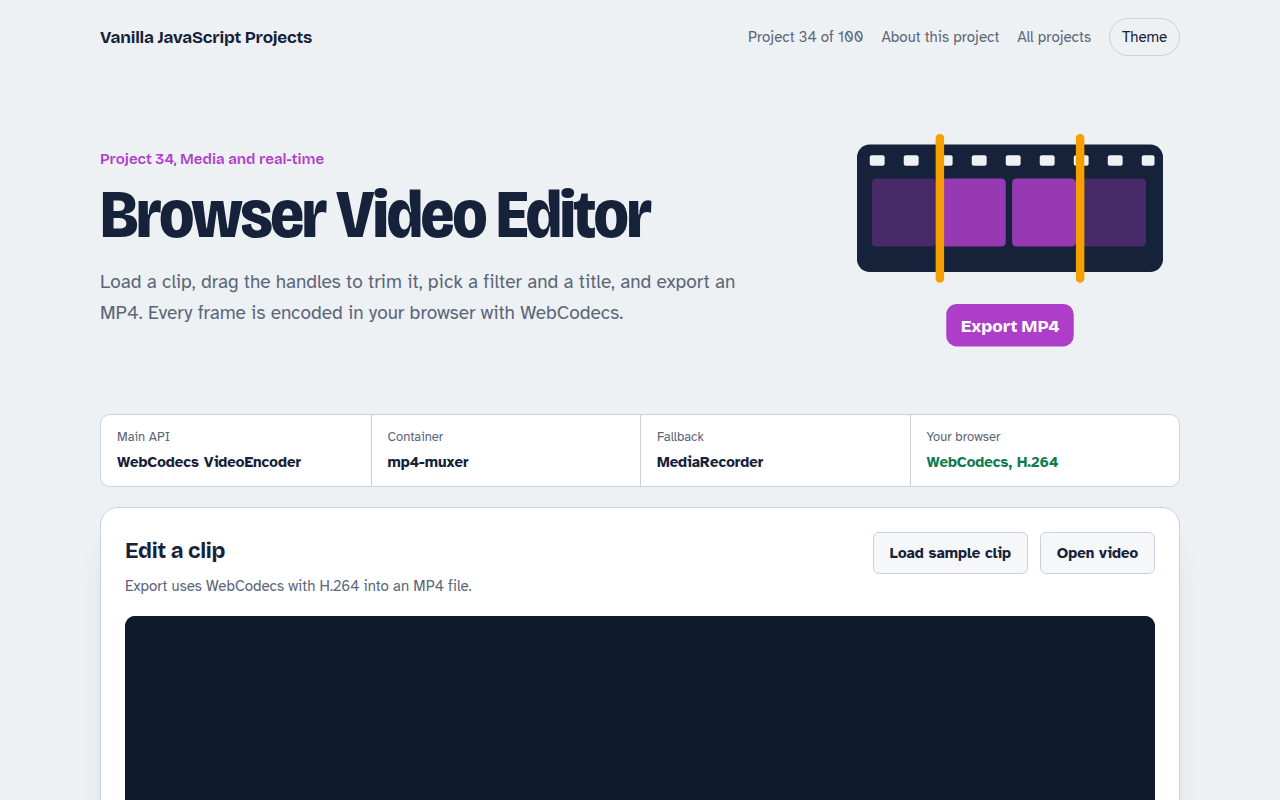
Runs on: WebCodecs VideoEncoder. WebCodecs: Chrome, Edge, Safari 17+ and Firefox 130+ on desktop. Audio is not included in the export in this version.
What is the Browser Video Editor?
Load a video, drag two handles to trim it, pick a color filter, add a title and export an MP4. Every frame is processed and encoded inside your browser, so the video is never uploaded.
The page plays the clip and grabs each frame, draws it on a canvas with the filter and title, and sends it to the WebCodecs VideoEncoder. The mp4-muxer library packs the encoded frames into an MP4 file.
Good for
- Quick social clips
- Trimming screen recordings
- Learning WebCodecs
- Building a custom video tool
What this project does
- Timeline with 10 thumbnails and trim handles
- Filters: grayscale, sepia, vivid, fade, blur
- Title text burned into the video
- Export as MP4 with H.264, VP9 or AV1, whichever your browser can encode
- Export progress and final file size
How it works
- Pick framesThe video plays from the in point to the out point. requestVideoFrameCallback hands over each frame as it is shown.
- Edit the frameEach frame is drawn on a canvas with the filter and title, then wrapped in a VideoFrame with its timestamp.
- Encode and packVideoEncoder compresses the frames. mp4-muxer puts the chunks into an MP4 file you can download.
The key JavaScript
This is the heart of the project. The full file has the rest, including the screen layout and error handling.
import { Muxer, ArrayBufferTarget } from "https://cdn.jsdelivr.net/npm/mp4-muxer@5.2.2/+esm";

const muxer = new Muxer({ target: new ArrayBufferTarget(), video: { codec: "avc", width, height }, fastStart: "in-memory" });
const encoder = new VideoEncoder({ output: (chunk, meta) => muxer.addVideoChunk(chunk, meta), error: console.error });
encoder.configure({ codec: "avc1.42001f", width, height, bitrate: 4e6, framerate: 30 });

video.requestVideoFrameCallback(function onFrame(now, info) {
  ctx.drawImage(video, 0, 0);                                   // plus filter and title
  const frame = new VideoFrame(canvas, { timestamp: (info.mediaTime - start) * 1e6 });
  encoder.encode(frame, { keyFrame: n++ % 60 === 0 }); frame.close();
  video.requestVideoFrameCallback(onFrame);
});
How to use it
- Click Download HTML file above.
- Open the file in a code editor, like VS Code.
- Run it from a local server with
npx serve .so the camera, microphone and AI features are allowed. - Change the text and colors, then upload it to GitHub Pages, Netlify or your own site. It is one file with no build step.
Questions people ask
What is WebCodecs?
It is a browser API that gives JavaScript direct access to video and audio encoders and decoders. It is much faster than older canvas recording tricks.
Is audio included in the export?
Not in this version. The video track is exported. Audio can be added with AudioEncoder in the same way.
Which codec does it use?
It picks the first your browser can encode: H.264, then VP9, then AV1.
More Media and Real Time projects
032. Video Call App
A peer to peer video call between two browsers
033. Screen Recorder
Record your screen with your voice and your face in the corner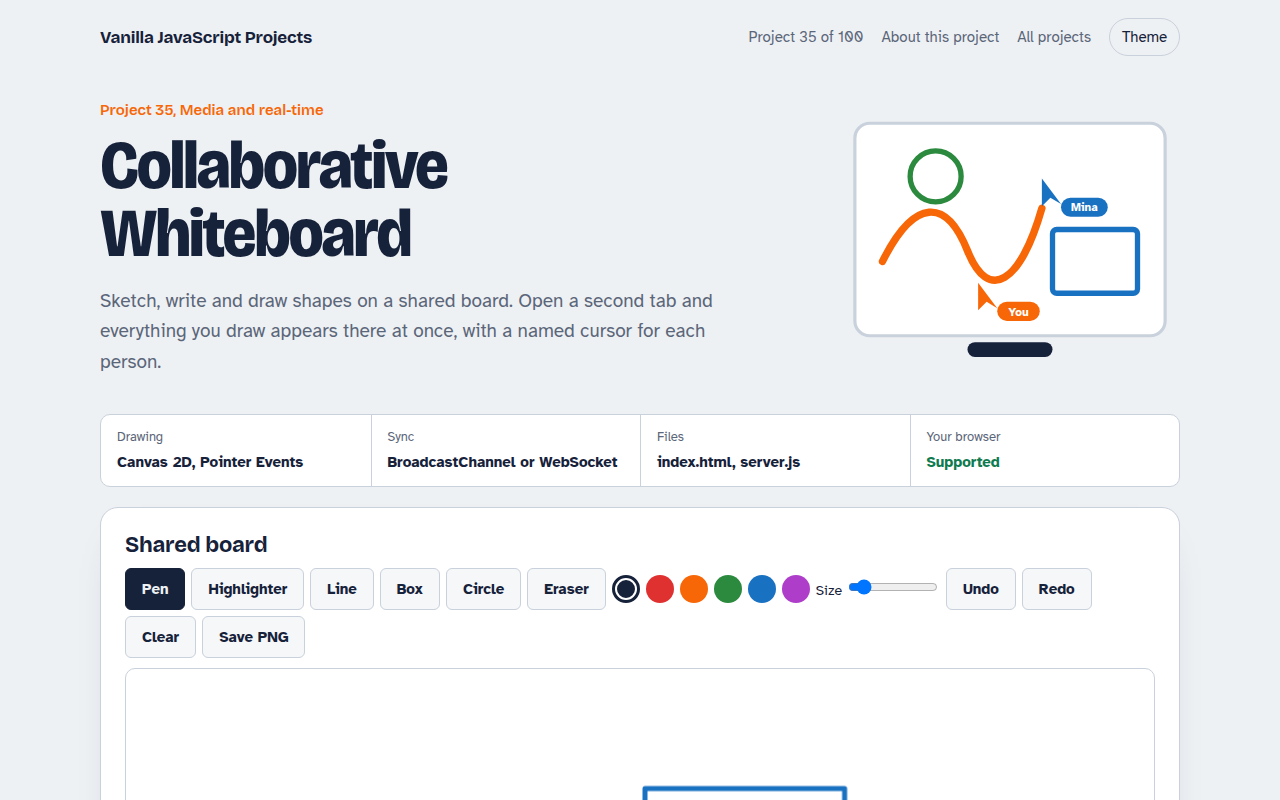
035. Collaborative Whiteboard
A shared drawing board with live cursors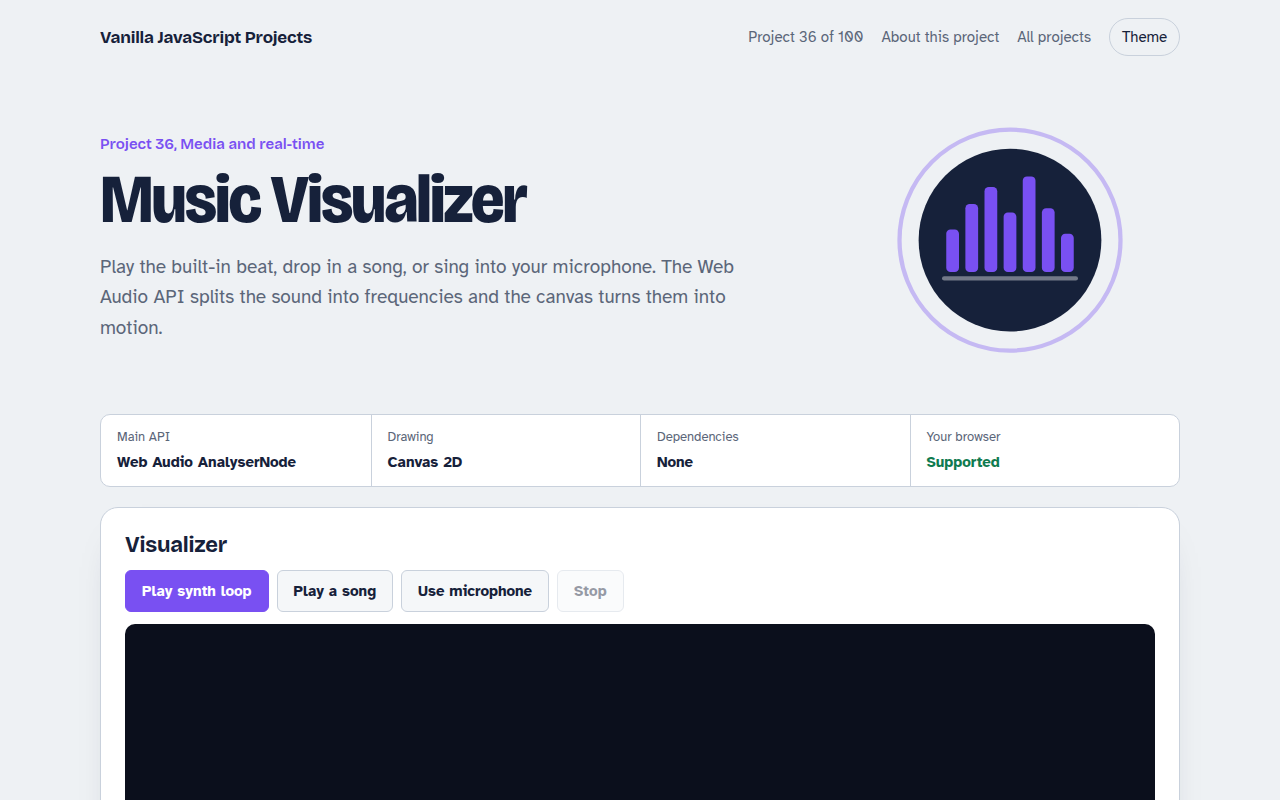
036. Music Visualizer
Turn music into moving bars, waves and a glowing ring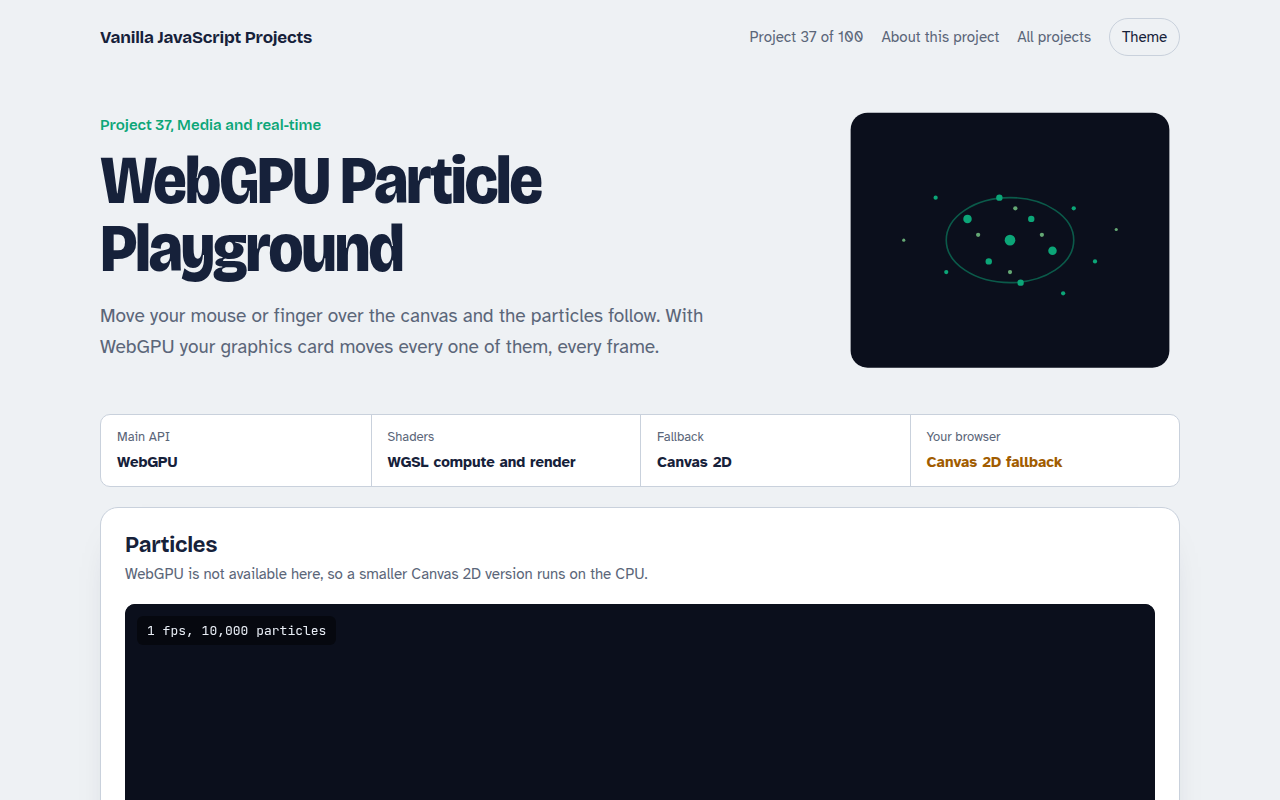
037. WebGPU Particle Playground
Up to a million glowing particles that follow your mouse