Home / Content and Data / Before and After Slider
Before and After Slider in JavaScript, Free with Live Demo
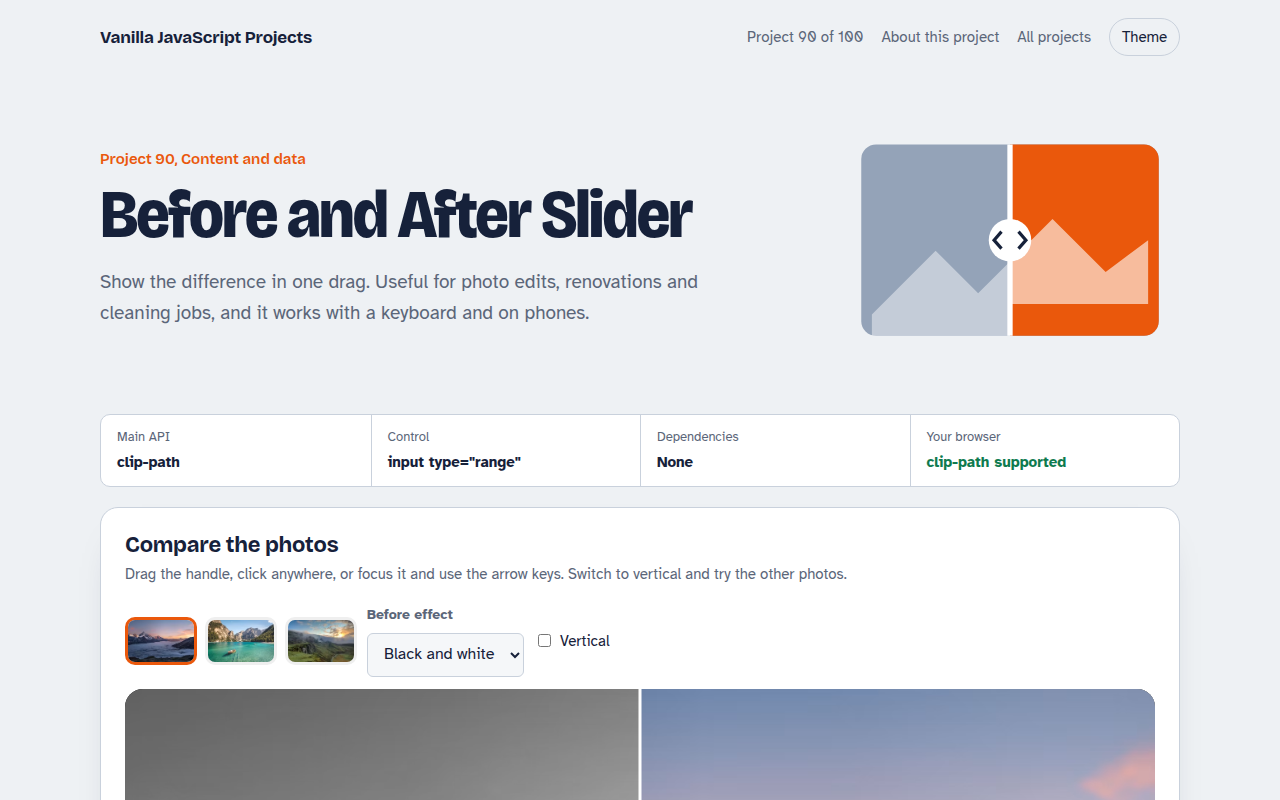
Free before and after image comparison slider in plain JavaScript. Drag or use the keyboard, switch to vertical, add labels and compare several photos, built on an accessible range input.
Runs on: CSS clip-path and a range input. Works in all modern browsers.
What is the Before and After Slider?
An image comparison slider. Drag the handle across the photo to reveal the before version on one side and the after version on the other.
You can switch to a vertical split, pick three different photos and choose the before effect. Under the hood it is a real range input, so the keyboard and screen readers work.
Good for
- Photo editing and retouching
- Renovation and interior design
- Cleaning and detailing services
- Dental, beauty and fitness results
What this project does
- Drag, click or use arrow keys
- Horizontal or vertical split
- Before and after labels
- Several photos to choose from
- Accessible range input with spoken values
How it works
- Stack two imagesThe before and after images sit on top of each other. clip-path: inset() hides the left part of the after image up to the handle.
- A real range input underneathAn invisible range input covers the slider, so keyboard arrows, screen readers and touch all work without extra code.
- Drag anywherePointer events move the handle to wherever you press or drag, horizontally or vertically.
The key JavaScript
This is the heart of the project. The full file has the rest, including the screen layout and error handling.
<div class="compare" style="--p:50%">
  <img src="before.jpg" alt="Before">
  <img src="after.jpg" alt="After" class="after">
  <input type="range" min="0" max="100" value="50" aria-label="Comparison position">
</div>

.after { clip-path: inset(0 0 0 var(--p)); }
range.oninput = () => box.style.setProperty("--p", range.value + "%");
How to use it
- Click Download HTML file above.
- Open the file in a code editor, like VS Code.
- Run it from a local server with
npx serve .so the camera, microphone and AI features are allowed. - Change the text and colors, then upload it to GitHub Pages, Netlify or your own site. It is one file with no build step.
Questions people ask
Do I need two separate images?
For real before and after photos, yes. Take them from the same spot and crop them to the same size. The demo uses CSS filters to fake the before.
Why use a hidden range input?
It gives keyboard control, touch support and screen reader announcements for free.
Can I start at a different position?
Yes. Set the value on the range input and the --p variable, for example 30 for 30 percent.
More Content and Data projects
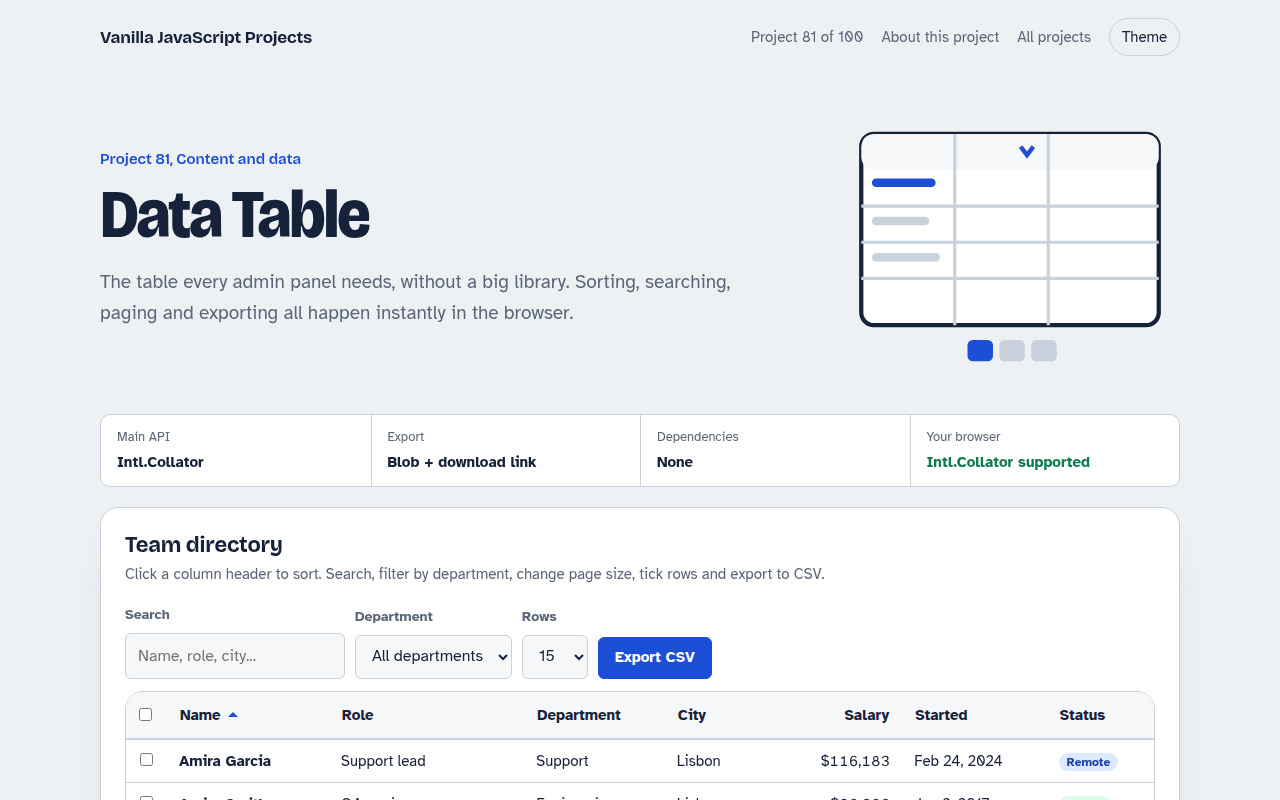
081. Data Table
A sortable, searchable table with filters, pages, row selection and CSV export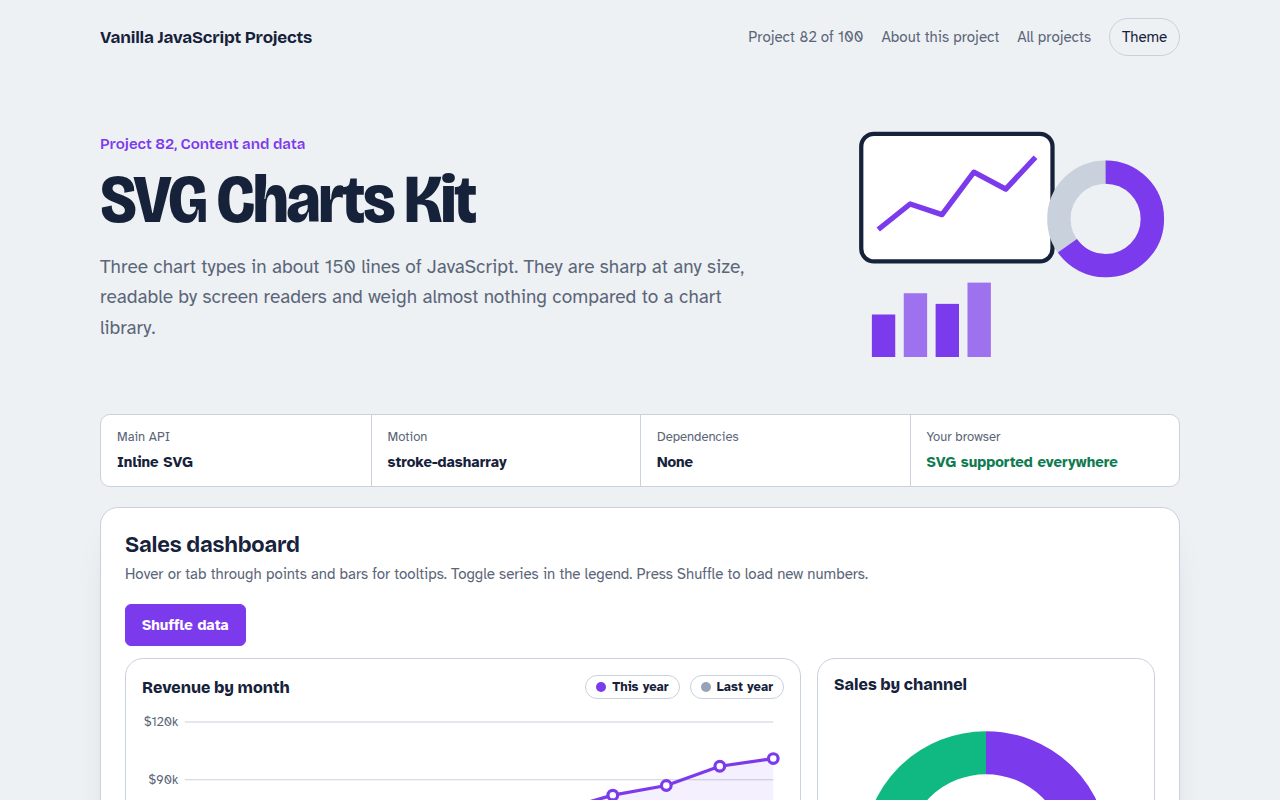
082. SVG Charts Kit
Line, bar and donut charts drawn with plain SVG, with tooltips and a data table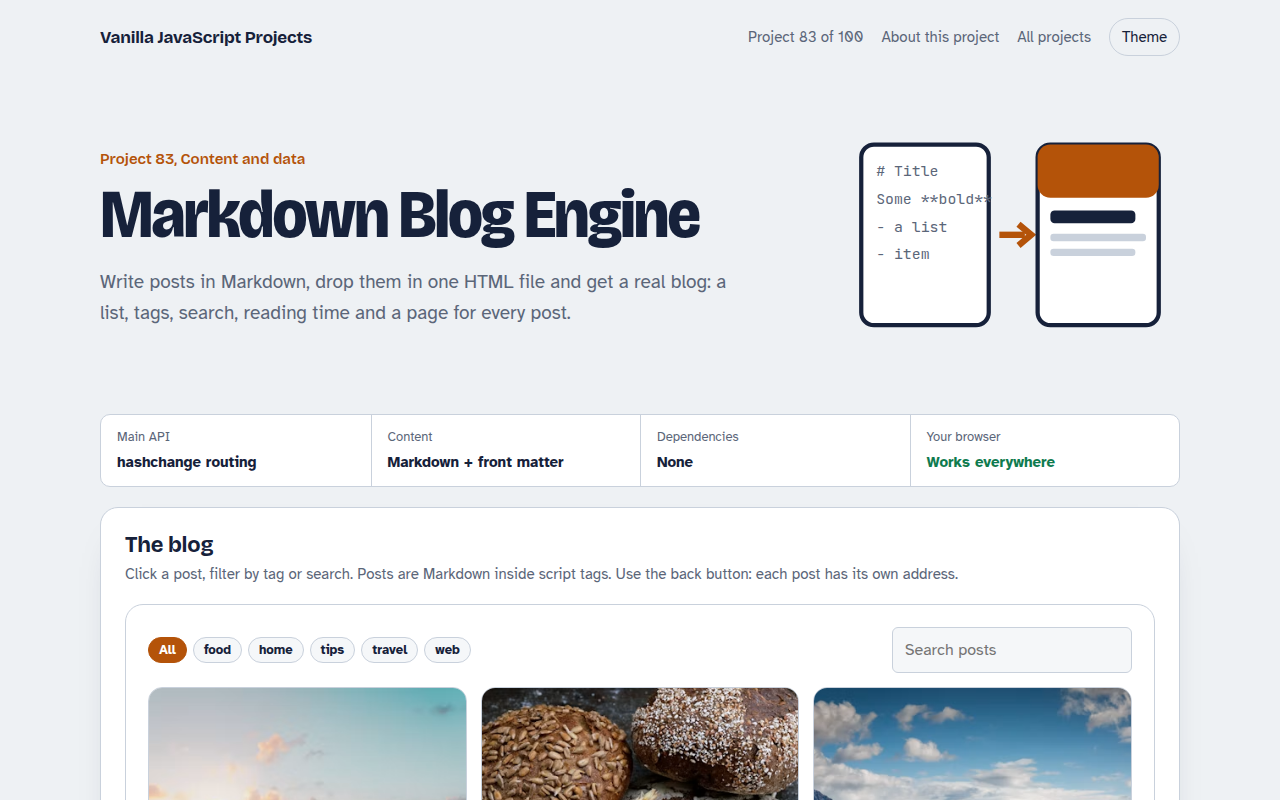
083. Markdown Blog Engine
A tiny blog that reads Markdown posts, with tags, search and reading time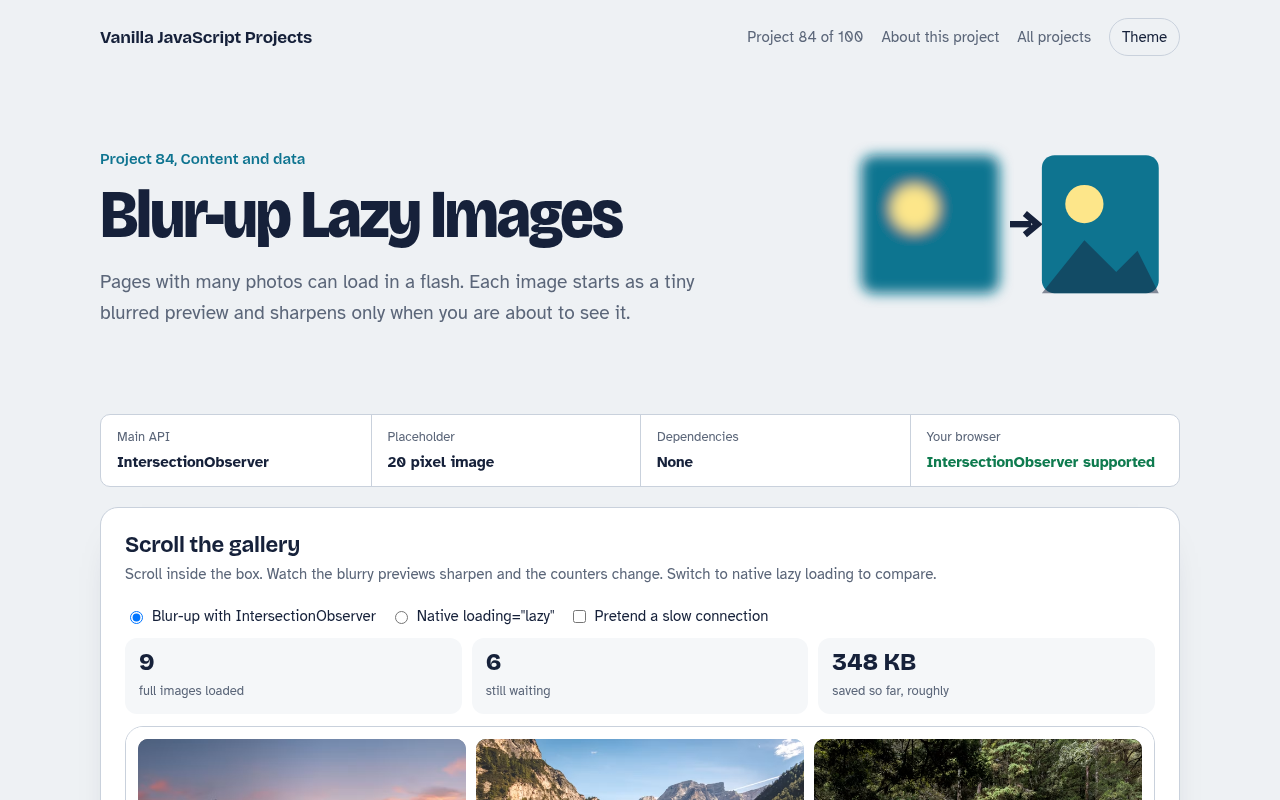
084. Blur-up Lazy Images
A photo grid that shows tiny blurred placeholders and loads full images when they scroll into view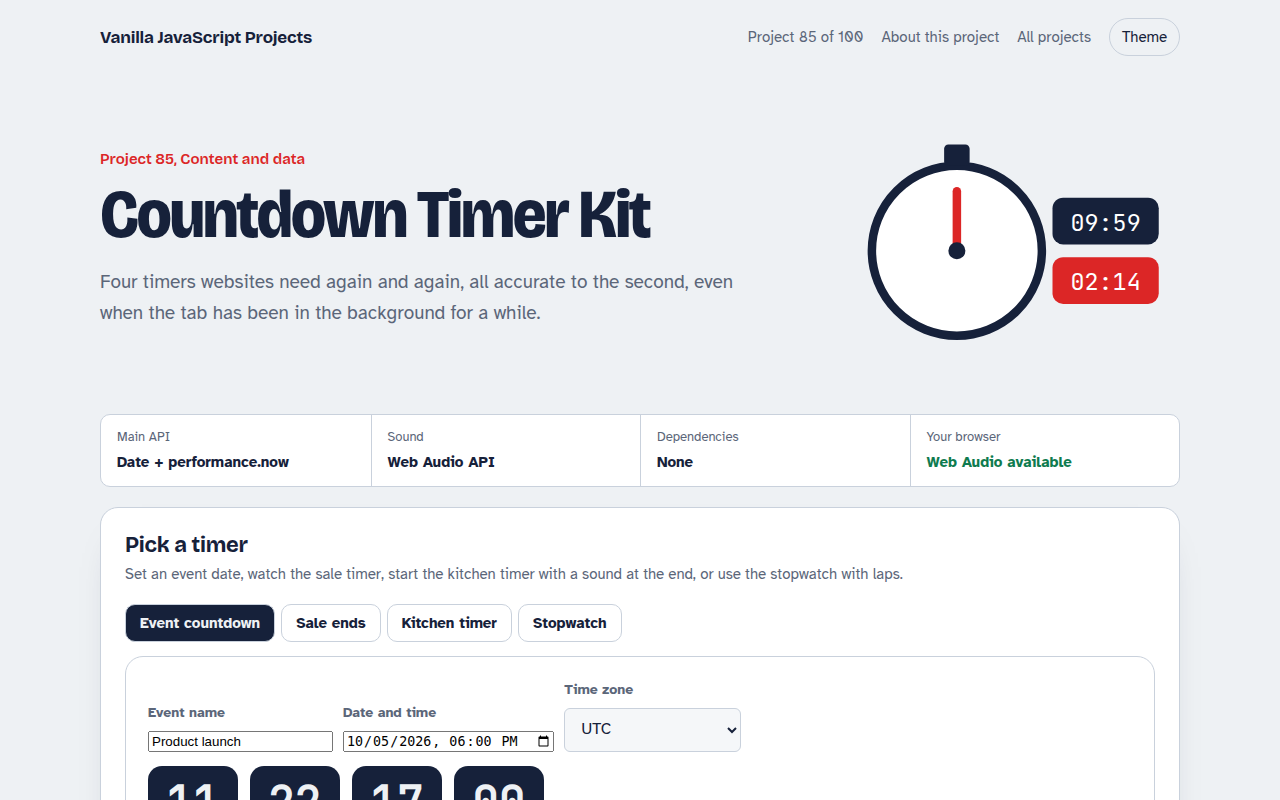
085. Countdown Timer Kit
An event countdown, a sale timer, a kitchen timer with sound and a stopwatch with laps